
Knowing when to time how long your dough needs to ferment, rise, cold proof, and cook requires considerable knowledge of what flour you’re handling. Too many stretch and folds, and your bread is gummy; not enough, and it becomes flat. You must not only be aware of the timing of your baking and preparation, but be cognizant of the temperature of your dough and its surrounding environment. Time and temperature work in tangency- they have a symbiotic relationship. These synthesize into dictating how, if, and when your starter will ferment/rise, and likewise for your dough.
Linked below is an example of some baking timetables. It is crucial to remember that not everyone needs to follow identical schedule, and that sourdough making can be tailored to what fits you best.
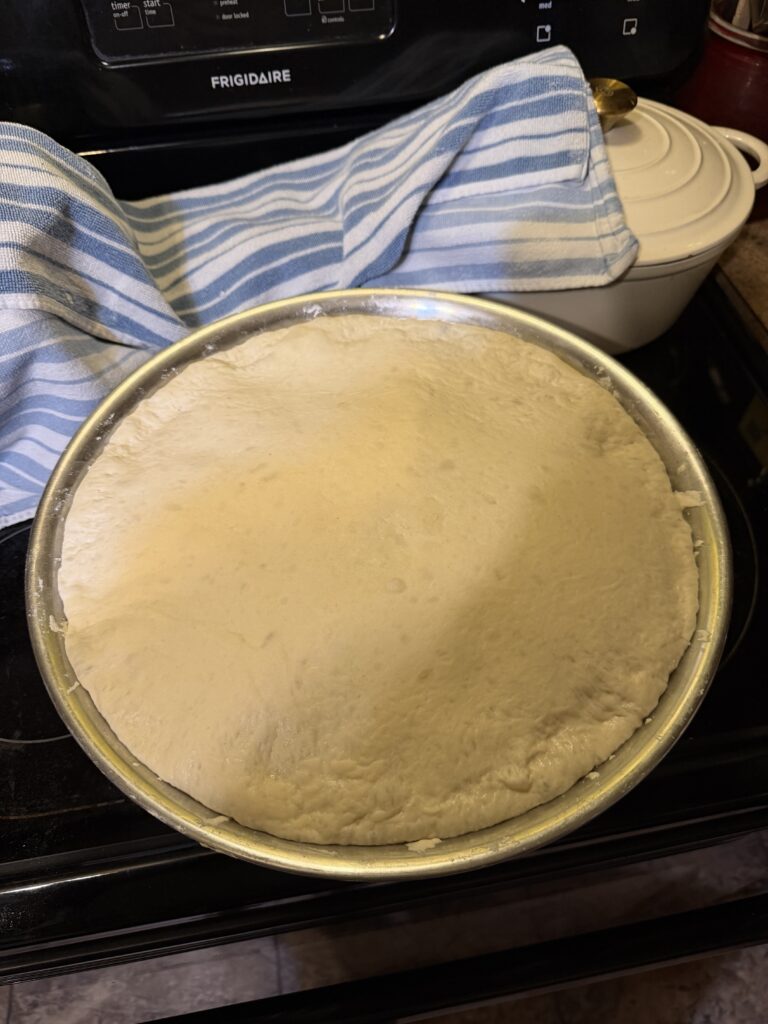
Linked above is the initial video I learned from regarding time and temperature for my bulk fermentation. From there, I trusted my own judgment, while utilizing trial and error with my loaves. With help from reels and TikTok, I got the hang of timing my bulk fermentation, and finding a warm space for my dough. Helga usually bulk ferments on my bedside table, as my heater is beside it, and is typically set at 20 degrees Celsius.

The basic principle of fermentation of a starter and dough is: the higher the ratio, the slower the fermentation. If you have less starter than your water and flour, the dough will take longer to ferment. If you decrease the temperature of its environment, it will ferment slower. You can increase the environments temperature to speed up fermentation; however, if the environment is too hot, it can kill the bacteria during fermentation and ruin the dough.
https://www.instagram.com/reel/DTbiMw6En1E/?igsh=Mmo1cHVyMTlneDJ2
Knowing this rule, you are able to tailor your starter and dough building to your schedule! Linked above explains feeding ratio examples for your starter.
When making sourdough, time is a variable that fluctuates based on the types of flour used, their enzyme activity, and, most critically, the temperature of the environment.
Flour Types and Fermentation Activity
As discussed in my pervious blog, the specific grains in your flour significantly impact how quickly your sourdough “microbes” (yeast and bacteria) respond.
Rye Flour: Microbes are particularly fond of rye flour and will grow very healthily on it. Adding rye to a starter or levain can make it most active, potentially speeding up the time it takes for the culture to double in size.
Gluten Content: Different flours provide varying levels of structural toughness. While bread flour is often considered a tougher flour due to its higher gluten content, rye actually has a relatively low gluten content. This means that while rye may speed up fermentation activity, it does not contribute as much to the elasticity needed to catch gas bubbles, which is why it is often mixed with bread flour.
The Role of Time in Autolysis
Regardless of the flour type, the process of autolysis-where flour and water sit before the final mixing-requires time to allow natural enzymes to break down structures within the flour granules.
Enzyme Activity: This rest period (typically 20 to 30 minutes) allows gluten molecules to become more readily available, which improves the dough’s texture and workability.
Temperature Sensitivity: The time required for these enzymes to work is relative to temperature; water between 80° and 85°F is ideal, as cold water slows them down significantly.
Time Relativity and Temperature
While flour type influences the metabolism or movement of the yeast, temperature is the primary factor that dictates the speed of the sourdough process.
- The 15°F Rule: The rate of fermentation (rising) approximately doubles for every 15°F (8°C) increase in temperature.
- Retarding for Flavor: You can choose to trade speed for flavor by “retarding” the dough in the refrigerator. For example, a bulk fermentation that takes one hour at 70°F would take roughly four hours at 40°F.
- Proofing Variations: Final proofing can take as little as one hour in a warm proofing box (75–85°F) or as long as 12–15 hours in the refrigerator.
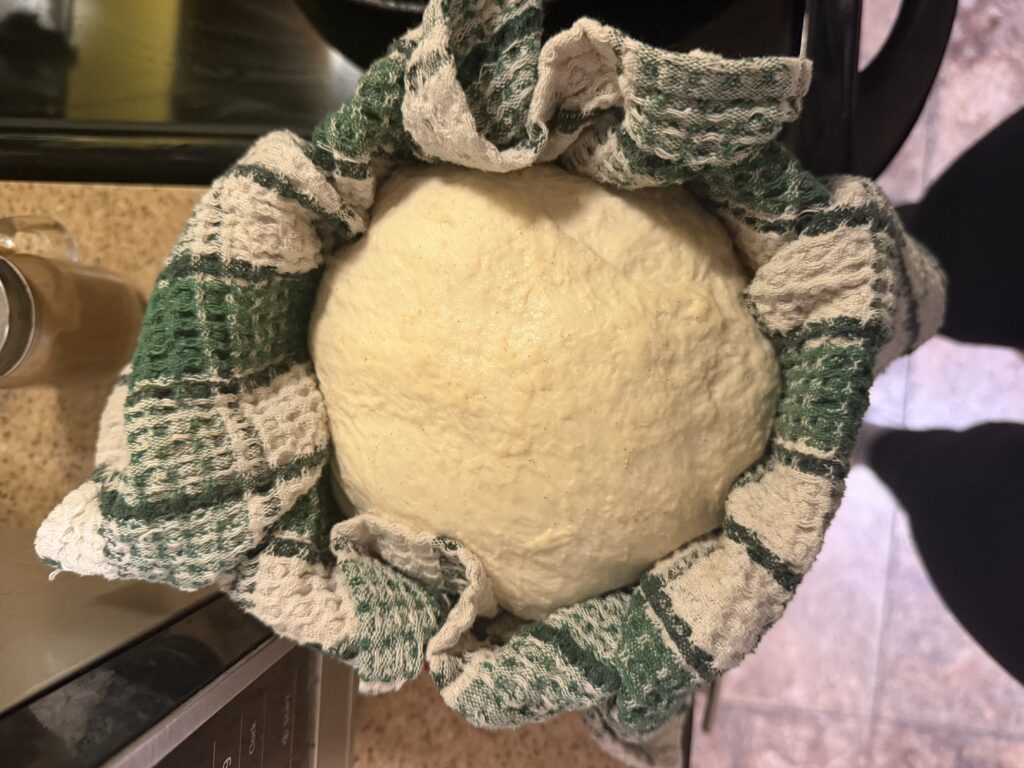
Pictured above is a loaf I had cold proofed in the fridge overnight.
Since I used bread flour, I opted to stretch and fold twice every 30 minutes for 2 rounds, then doing another 2 sets of coil folds every thirty minutes. This equalled to a total time of 2 hours, where I then placed the dough beside my heater at. 20 degree Celsius for about 5 hours. Once it was fermented approximately 60%, I shaped it, put it in a bowl with a dish towel, and put it in the fridge to cold proof overnight for 8 hours. I ensured not to allow it to double in size, as it could have over-fermented in the initial placement into the fridge (before it got cold enough to stop).
Why We Space-Out Stretch and Folds
Spacing the timing for stretch and folds-typically performed in four sets every 30 to 60 minutes-is critical for balancing the development of gluten strength with the necessary relaxation of the dough. During the stretching process, gluten bands tighten and align, necessitating a rest period so they can relax and elongate further without tearing. This rhythmic timing transforms random gluten bonds into an organized, net-like structure which is essential for trapping the carbon dioxide bubbles needed for a proper rise. Additionally, the intervals help to uniformly distribute yeast and heat throughout the dough, mitigating uneven fermentation caused by kitchen hot spots. It is important to complete these sets early in the bulk fermentation stage to avoid popping gas bubbles or over-developing the gluten, which can lead to a gummy texture or restricted rise.
Comments
One response to “Time, Temperature, and Fermentation”
Kajsa, you have the makings of a full course on breadmaking here. I hope you have plans for this incredibly detailed guide on how to make, and not make, bread!